

Walter Reeves Straw Bale Gardening
Straw bale gardening is an innovative and relatively low-cost method of maximizing production where space is limited. In this article, we will have an in-depth look at the system, and show you how you can set up an effective straw bale gardening system at home.
We will provide you with answers to the questions you are most likely to have. We'll compare straw bale gardening with traditional gardening methods, and with the use of raised beds. We will explain the benefits of gardening with straw bales and analyze the quality and quantity of the crops produced.
However, before we go any further …
What is Straw Bale Gardening?
Gardening in straw bales is a specific method of soilless cultivation where you compost straw bales and plant seeds or seedlings in the bales. You use the straw bales as both the garden bed and the growing medium. That's it.
Why Would I Want to Try Straw Bale Gardening?
You may decide it's not a system for you, but in this article, you will see that for many people, straw bale gardening is a viable gardening method that produces great results for a relatively low cost. Not only does a straw bale garden require less maintenance than most other gardening methods, but it is also an excellent way to make growing vegetables accessible to more people.
If you are a gardener with mobility issues, then conventional gardening tasks can pose particular challenges. Even if you are fit and healthy, digging and weeding can be hard physical work. Straw bales form a raised bed. Raised beds are easier for gardeners who have difficulty bending as they can have a comfortable place to sit and work from. So, using straw bales will take away the difficulties posed by traditional gardening methods.
Perhaps you want to grow more plants but lack the space to do so and in some locations, the soil may be so poor that nothing will grow successfully. Using straw bales as a growing medium might be the answer. Or, you may want to extend your growing season, and take advantage of the possibility of harvesting crops for longer. Using this method, it is possible to do so.
Straw bale gardening is simple and reduces the physical effort required. It's an amazing, system. Although we think of it as a modern gardening method, there are reports of this system having been used for more than 50 years in parts of Europe. Some countries in Eastern Europe still use straw bales to grow salad crops in unheated greenhouses.
The straw bales provide the ideal environment allowing heat to be created and carbon dioxide to be released. If you are a beginner, you may be unsure of how or where to start. However, let yourself be guided, and you will see that it really is a simple, sure way to raise healthy, organic plants.
Let's Get Started With Straw Bale Gardening!
1. Source Your Bales
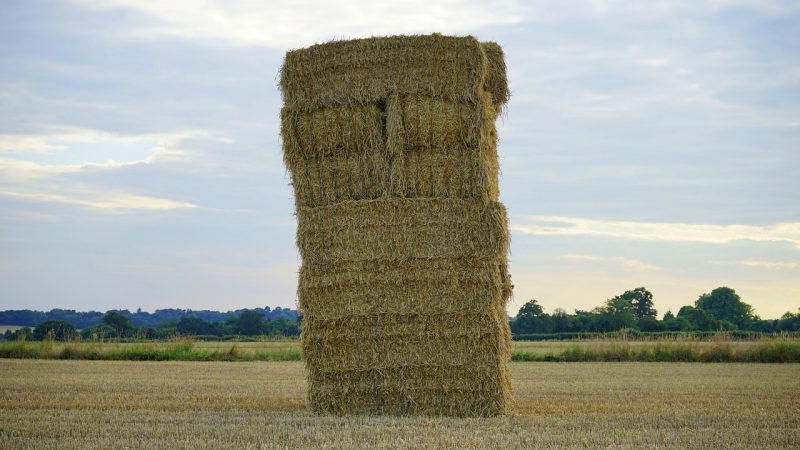
It may sound obvious and indeed it is. You need straw bales if you want to try straw bale gardening! However, the key is in the name. Straw bale gardening. Not hay bale gardening. Many people don't realize it, but there is a world of difference. Straw is the by-product of a grain harvest. It does not contain seeds.
Straw is the dried stalks of the grain which are left after the grains or seeds have been removed. The hollow stalks which are left on the field are later cut and baled into square straw bales. Straw is used for animal bedding but unlike hay, not for animal feed. Hay is fed to horses and livestock. It is full of seeds that will sprout when damp. If you try growing in hay bales, you will probably produce a crop of hay, not vegetables.
Straw bales are a natural product and will decompose over time. It is this decomposition process that will feed your plants. Ideally, you will source your bales from an organic farm. Then you will know that the grain crop is free from harmful pesticides and other chemical sprays and there will be no toxic residue in your straw bales.
Next, you need to decide how many bales you'll need for the planting space you have available or allocated to straw bale gardening. It's sensible to start small, so you could start with about a dozen bales. Later, you could consider expanding if you find the system works well for you and you wish to increase productivity.
Straw bales are cheaper in the fall. You will save money, but you will have to store the bales until the Spring which is the best time to begin your vegetable garden. You can buy the bales from big box stores or garden centers but they will be more expensive than if you can buy direct from a local farmer or neighbor.
The cheapest I could find was from a local, organic farmer I know. He offered me 20 bales at $4 each. The most expensive that I could find cost $11 each, but generally they seem to be around $9 apiece. So if you were to buy 12 straw bales to start with, you would be looking at an investment of around $100.
2. Location, Location, Location
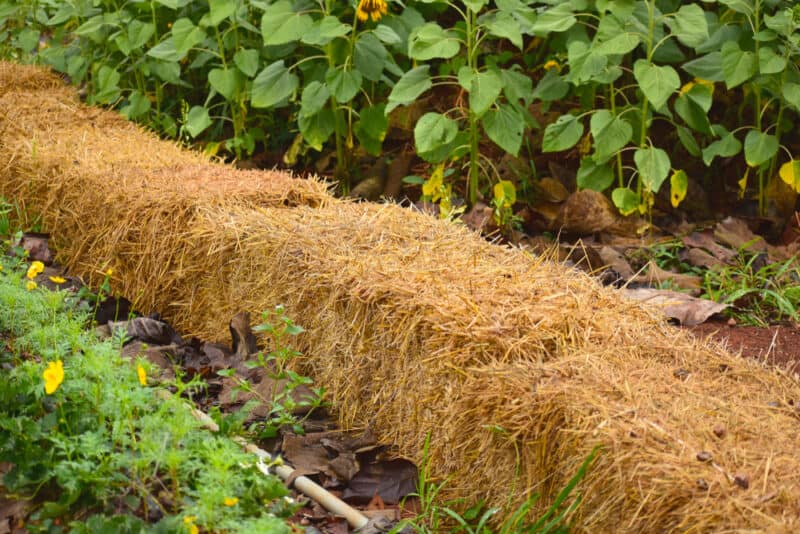
Once you have sourced your bales, you need to select a good place to put them. A little tip – straw bales are far heavier when wet and can be too heavy to lift. So put them where you want them whilst they are still dry. Sunlight is essential for vegetable production, so you should try to find a very sunny spot in your garden. Ideally, you'll have somewhere where you can get 6 hours of sunlight or more.
The position of the straw bales also needs to be somewhere you have easy access to a water supply. Keep in mind too that bales will become heavy once they are planted and watered. You must think about this before placing the bales on a rooftop garden or even on a raised decking. Wooden decks will not appreciate being wet constantly and will be susceptible to premature rotting of the timbers.
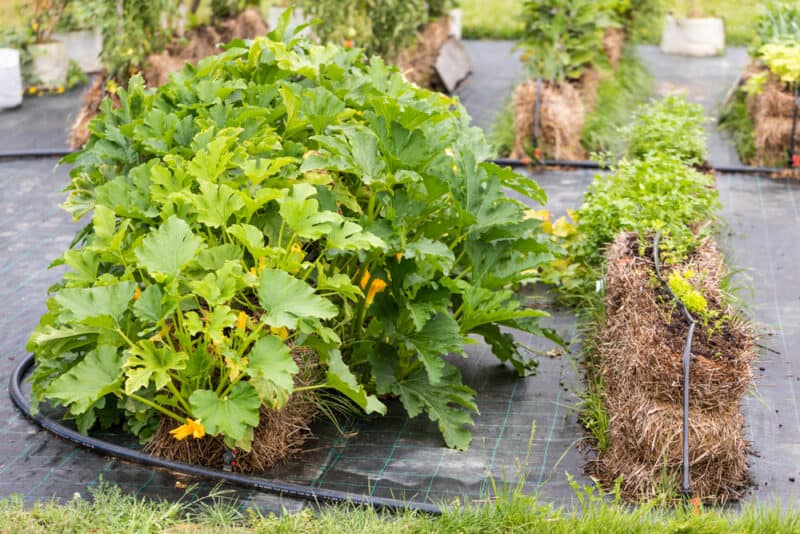
Once you have found the site for the bales, it is a good idea to cover the ground with cardboard, newspaper, or weed suppressing fabric. This will help to deter weeds from growing up through the bales of straw.
When setting up the straw bale garden, put the bales with the cut side facing up. The twine should be across the side of the bales and not running through the planting area. This is important as it will allow water to seep through the bales, enabling good drainage and the take-up of plant nutrients. The twine will help to hold the bales together when the composting process starts.
3. Prepare the Bales
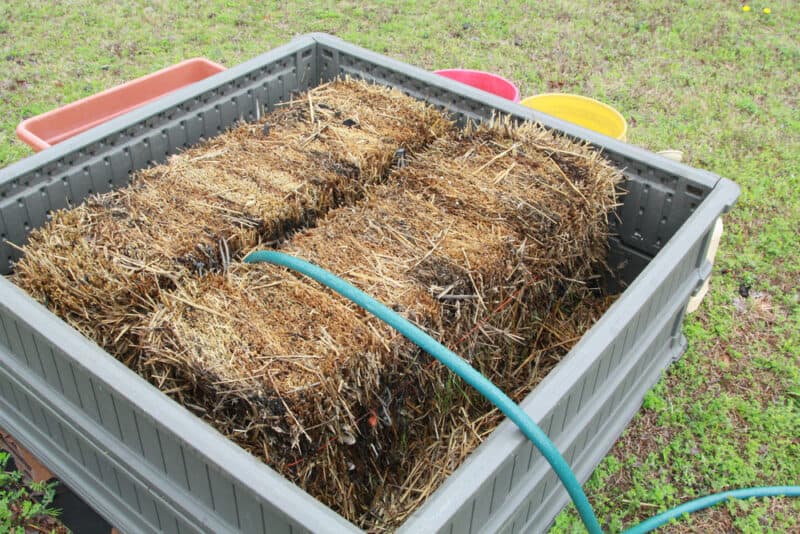
This is also known as "conditioning" the bales. It is the vital, initial stage in preparing a straw bale growing system for planting. This will take about 2 weeks, so bear this in mind when deciding when to buy your bales. Most vegetable plants do not want to be planted until the danger of late frosts has passed.
The composting process is what makes the plant growth process work exceptionally well.
This is a 14 day program:
– Day 1
Water the bales thoroughly, until water runs out of the bottom of the bales. Then sprinkle the top surface with a nitrogen source. A blood meal is good as it doesn't contain harmful fertilizer or seeds and you can use 3 cups per bale.
Alternatively, you can use a conventional lawn fertilizer (29-0-4 Nitrogen, Potassium, Phosphate (or NPK)) applied at ½ cup per bale. If you choose the lawn fertilizer option, just make sure the content doesn't also include a weed killer.
– Day 3, 5, 7
Water the bales thoroughly and add more of the nitrogen source at the same rate as above.
– Day 2, 4, 6
Make sure you water the straw bales well.
– Day 8, 9, 10
Apply nitrogen at half of the original rate. Follow this with a thorough watering.
– Day 11, 12, 13
Make sure you water well
– Day 14
Add 2 cups of a balanced fertilizer (organic NPK, 5-5-5) or 3 cups of bone meal and 1½ cups of wood ash to each bale. This will cover the necessary potassium and phosphate needs. Follow this with thorough watering. This essential 2 week conditioning period is what will turn your straw bales into an excellent growing medium for your plants.
The bales will heat up considerably during this 2 week period, and can easily reach temperatures of 125°F. This is how composting happens. The liberal addition of the nitrogen will accelerate the process, creating the ideal growing environment for root growth in a minimum of time.
4. Get Ready to Grow
As long as your composted bales have started to cool, you are ready to plant. You can check the internal temperature of the bales with a compost thermometer – or with your finger as I do! If you are using a thermometer, probe the bale about halfway down and you should find it has cooled to around 75-80°F.
If using your finger, the straw should feel warm to the touch but not hot and if you think the internal temperature of the bale is too hot, just wait another couple of days and try again.
In case you are really short of space, you can optimize the space available to you still further. By putting posts at the ends of the rows of bales and running twine horizontally from one post to the other you can form a trellis. This is by no means essential but it does also give you the option of also making a protective cover after you have planted your seeds or seedlings.
Attach plastic sheeting over the posts, tuck the edges into the baler twine to stop it from blowing away in the wind. In this way, your plants will be protected if an unexpected cold or windy snap occurs after planting. So you get yourself a greenhouse too.
If you plant vegetables on the top face of the bale, you can also plant flowers lower down. In this way, you can get the most out of the growing space that is available to you.
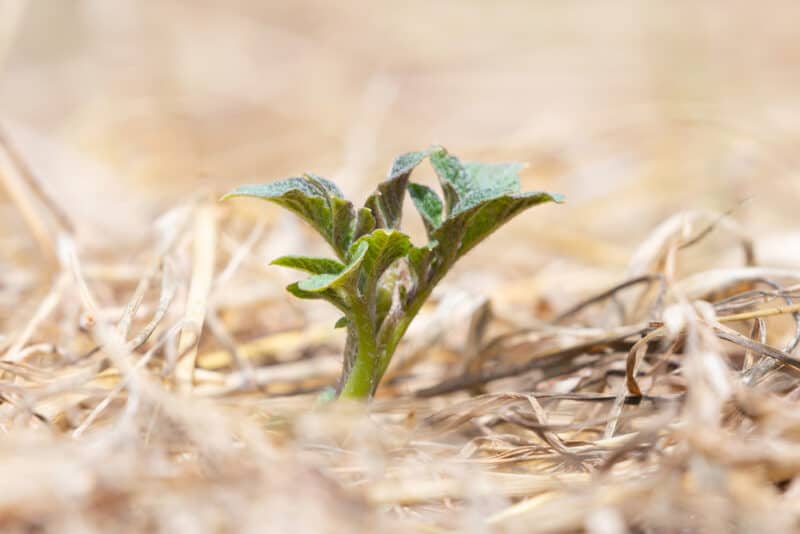
Some ideal plants to start with are tomato, pepper, eggplant, and greens. You can plant two of these seedlings per bale. Any tomato variety grows well in a bale environment. Carrots and other root crops are also successful when grown in straw bales. Sweetcorn is usually avoided as it will become top-heavy and the bale will not be able to support its weight.
The problem with taller plants is that they become unstable. This is because the plant becomes heavier as it is burdened with fruit and also because as the bales decompose, they will soften and become weaker in structure.
The key to success is being able to support the weight of the plant. It may be necessary to stake a tall tomato. You can stake either from behind the bale or hammer stakes through the bale itself into the ground below. There are many dwarf, compact varieties of tomatoes available, and their yield is often surprisingly good.
5. Plant Your Garden
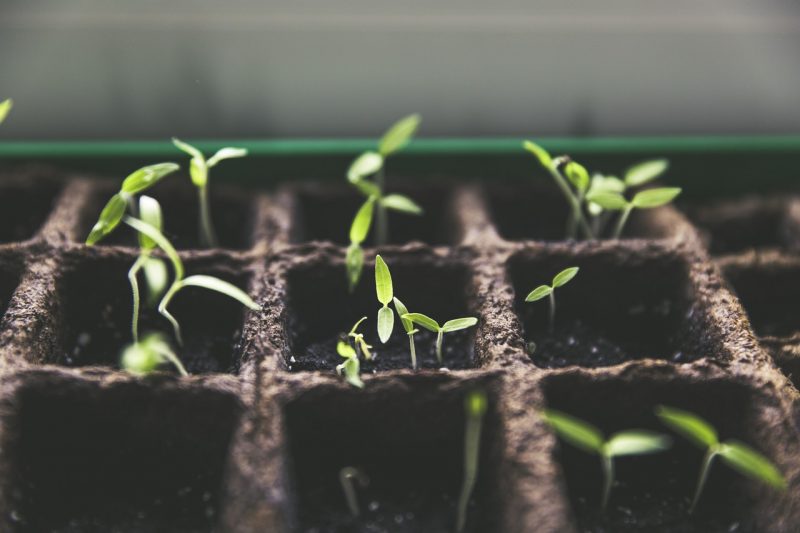
If you are planting seeds, you can plant them directly in the bale unless they are tiny. You can plant bean or pea-sized seeds simply by making a hole in the surface of the bale and popping the seed inside the conditioned bale.
For very small seeds like carrots, salads, or brassicas, you will need to spread a thin layer of soilless potting compost on top of the bale and plant the seeds in that. Don't use any potting compost that is soil-based as it can become waterlogged. The seeds will germinate and once their roots start to grow, they will find the nutrients in the straw bale below.
Make sure that you water regularly during the germination phase. If you're planting seedlings, make a hole big enough for the seedling in the bale. Sometimes you don't even need to make a hole; you might be able to make a gap by simply teasing the straw apart to make a gap in the top surface of the bale. Then you can set the roots of the seedling in place.
Once the seedling is in the hole, put some soilless potting mix around it to close the gap. This will keep the young plant level and secure in the bale. You should water your seedlings gently. Don't use compost with soil content, but if you find you have gaps or your seedlings are falling over, you can add a little more compost.
Here is a list of plants you can plant in a straw bale garden.
6. Care for Your Straw Bale Garden
The most important care you need to provide is adequate water for your plants. The straw bales will dry out quickly. They are above ground so their intrinsic moisture content will dissipate rapidly. You should water regularly and feed your plants with a liquid fertilizer weekly. The feeding is important because the frequent watering will lead to a loss of nutrient levels in the bales.
There is really not much care needed for a straw bale garden! You should use a soaker hose system to keep the bales watered. A soaker hose works well as it will provide water little and often and can be draped over the top of the bale. Because straw bales stay dry, they need quite a bit of water and this type of irrigation is effective and efficient at meeting their needs.
A soaker hose will also make watering easier, as it will keep you from having to water the bales constantly. The more you water your bales (which you will have to because otherwise, they will dry out) the more nutrients will be washed out. If you keep up with regular fertilizing and watering of the bales, your plants should thrive.
When you think this is all you have to do, it really is very little compared to a traditional garden. There is no weeding to do in a straw bale garden if you prepared the site properly before starting. There is no conventional digging to do either and you don't have to worry about continually checking and adjusting the soil either.
The plants in the bales are raised off the ground as they are in any raised bed system. This has another distinct advantage as it helps to deter many pests. You will find you have fewer problems with creatures such as rabbits and slugs than if you grow direct in the soil.
Some people advise that the bales can last two seasons. Personally, I find this is just too much, mainly from the unsightly appearance and lack of structure in the decomposed bales. Once the bales have broken down, it sometimes is possible to plant an autumn crop such as garlic.
If it is not viable, the discarded straw bales will have become a rich pile of compost which is great for conditioning the rest of the garden soil, adding to plant containers, or just adding to the compost heap.
7. Enjoy the Benefits
As already stated, there is very little work in setting up or maintaining a straw bale garden. There's no digging, no expensive or technical building work required, no need to adjust poor soil to maintain fertility, and no battling against persistent weed growth. You can enjoy reaping the rewards of your new garden quickly.
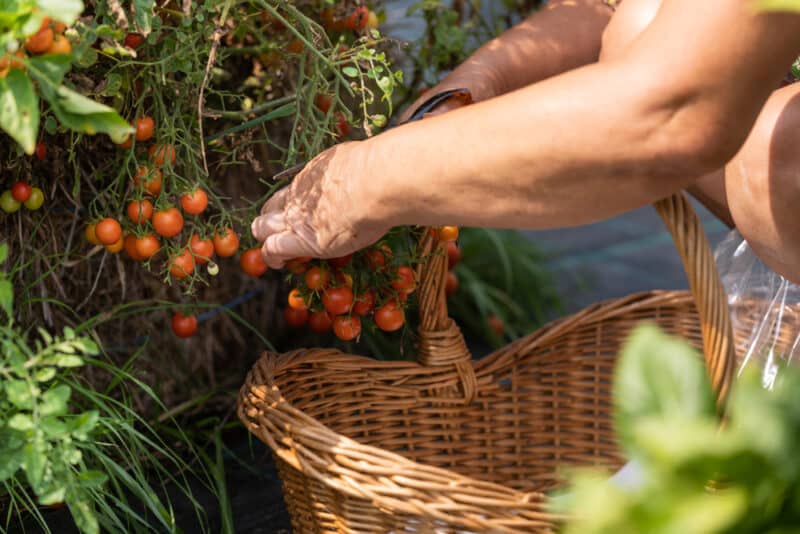
One final benefit – because the beds are raised off the ground, it makes it easier to harvest the produce as well. The elevated fruit and vegetables enjoy better circulation of air than crops grown on the ground, and this reduces problems of mildew, fungus, and rot.
8. The Beauty of the Finished Product
When it's time to discard the straw bales, the straw will continue to compost over the winter. If you haven't already used the compost, it will be even richer to use by the following Spring. The next year, there will be no setting up work to do, so you're ready to go – unless you decide you wish to expand your straw bale garden.
The Pros and Cons of Straw Bale Gardening
Like anything, it is important to consider any downsides as well as benefits of any new system. This means you are fully informed about what's involved and have a complete overview and awareness before jumping in feet first.
There are many positives to straw bale gardening, it is a:
- great choice if you live in a cooler climate because straw bales heat up faster than regular soil and the growing season can be lengthened,
- low-maintenance option, whilst still producing a harvest,
- great option for gardening novices because it isn't difficult to get right,
- great option for anyone with mobility problems because this form of gardening requires no digging, weeding, and very little bending,
- fun way to get the whole family involved and interested in growing their own food,
- less expensive option than raised bed gardening…usually.
The downsides are few and mainly to do with aesthetics, it can be:
- more expensive than traditional gardening if the cost of the straw bales is too high,
- unsightly to see the straw bales once they have started to decompose,
- difficult to make the straw bales an attractive part of your garden, unless you are prepared to be creative,
- difficult to grow taller plants without substantial staking, reducing the range of products you can grow,
- difficult to grow sufficient produce with this method if you preserve your own food.
Straw bale gardening is definitely worth a go; for around $100 you can set up a system that will give you plenty of fresh produce in just a few months. No digging. No weeding. No bending. Yes, straw bale gardening – that's how I'm going to grow my tomatoes this year. I'll let you know how I get on.
Was this article helpful?
Yes No
Walter Reeves Straw Bale Gardening
Source: https://morningchores.com/straw-bale-gardening/
Posted by: euresiging.blogspot.com
0 Response to "Walter Reeves Straw Bale Gardening"
Post a Comment